
Have you ever worked with pallet wood before?
If you are like my wife and me, you think reclaimed pallet wood looks cool, but you also don’t realize the work involved until you are cleaning up a cut and wondering if you need a tetanus shot (thankfully I got a booster a few years ago after a different cut on a different project). Working with pallet wood can be a big pain but yield some really cool results.
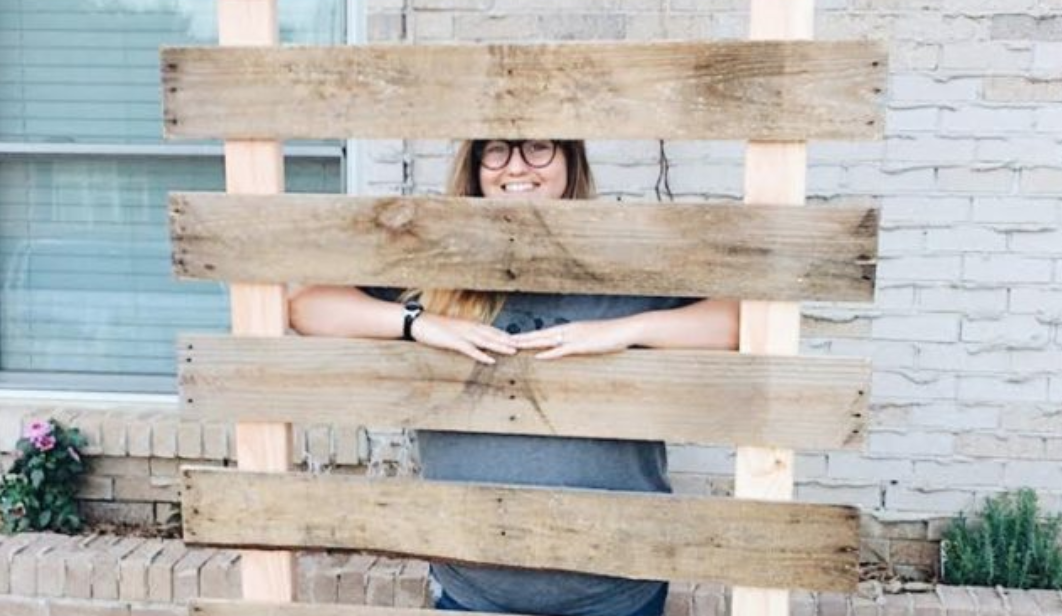
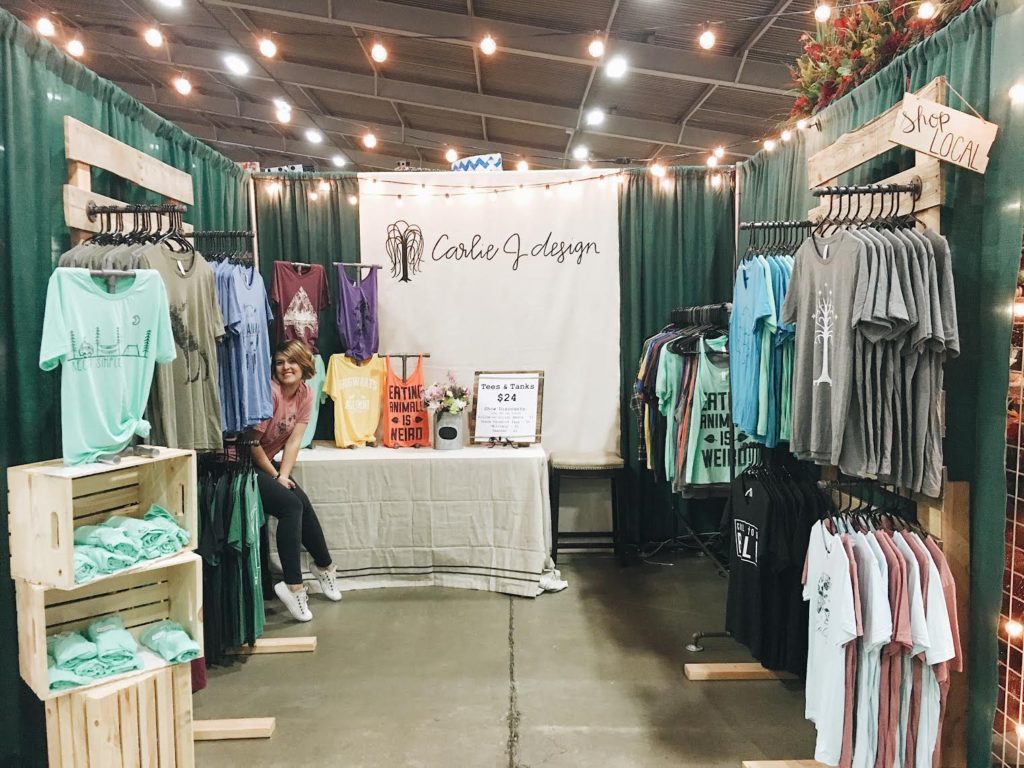
Carlie was in need of a stand or something similar to use to display her shirts during An Affair of the Heart Craft show. Cue Pinterest. Browse. Arrive at reclaimed wood backdrop walls and iron pipe as the racks for the shirts. (There are some links at the end of the post to some of the Pinterest images she showed me). I was able to base the design off a couple images Carlie discovered. We just needed a few pallets and some lumber from the hardware store.
Once we had the materials, removing the planks became the most difficult step.
Pallet planks like to SPL-INT- E-R.
Through frustration, sweat, and a little bit of injury, I was able to remove enough pallets to make two stands. I think I went through 3 or 4 pallets to get enough lumber of the same width without them cracking into pieces. (I brought home 6 but the boards were not all the same length or width)
NOTE: It is easiest to remove pallet planks by placing the plank face down on the ground and prying the support off the plank, using the ground as a brace. If you lay the support on the ground and try to pry the plank up, it likes to splinter.
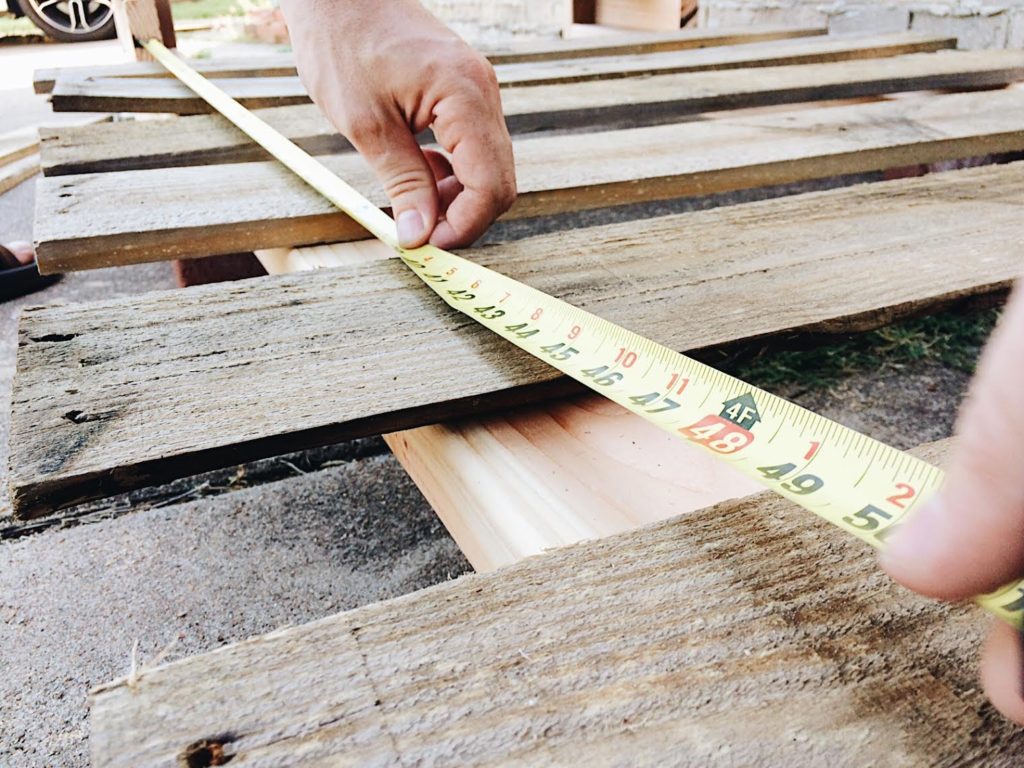
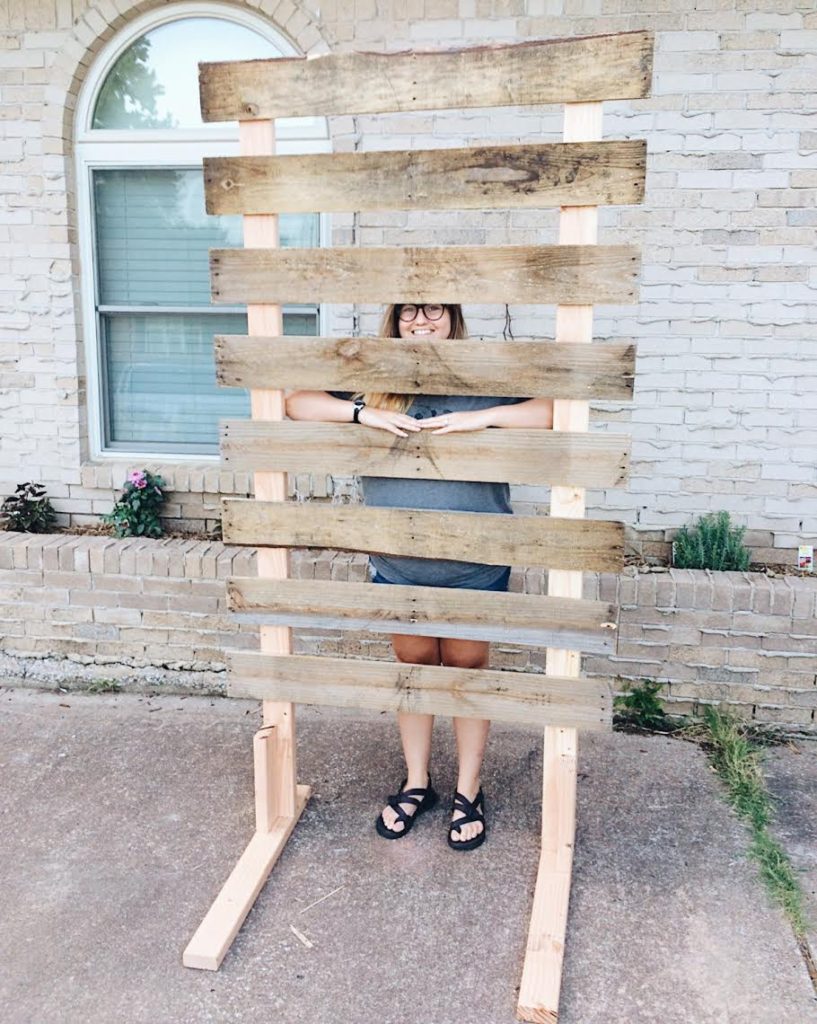
Using the design I had created in a CAD (computer-aided design) program, it was fairly easy to cut the lumber to the correct dimensions.
Tools required to build: tape measure, square, favorite mechanical pencil, circular saw, drill with bits, wood glue, clamps, air compressor, small nail gun (18ga brad nails), and an orbital sander.
Materials needed: pallet wood, 2×4 framing lumber (8’ long), 2” long deck screws (recommend 2 ½”
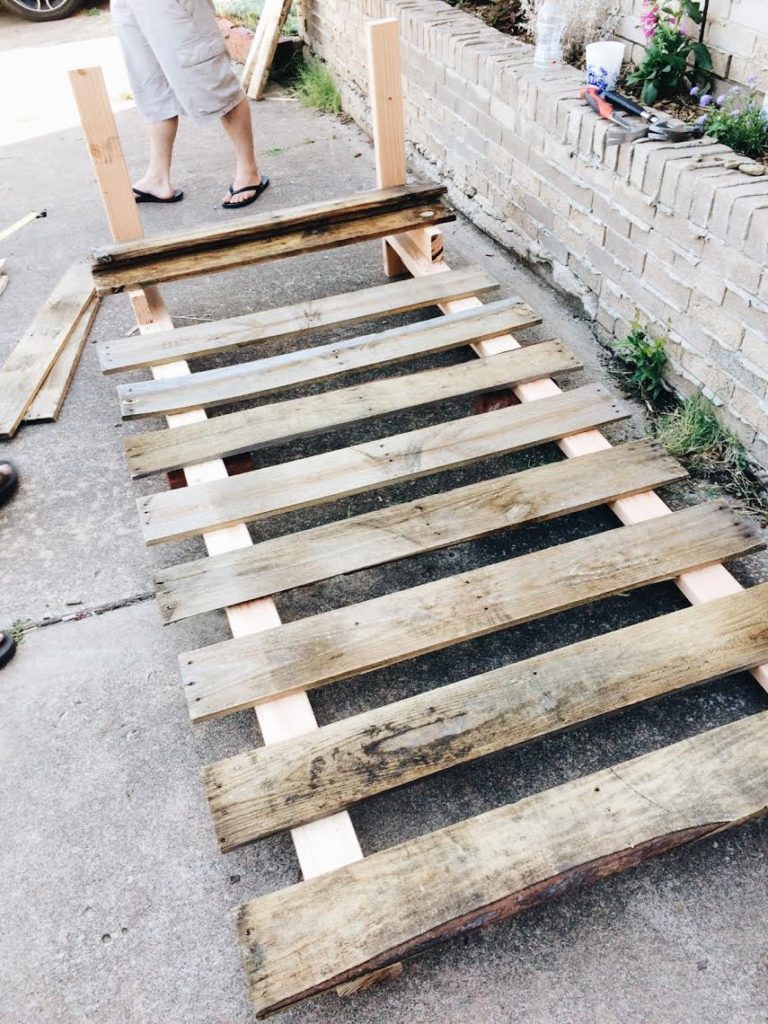
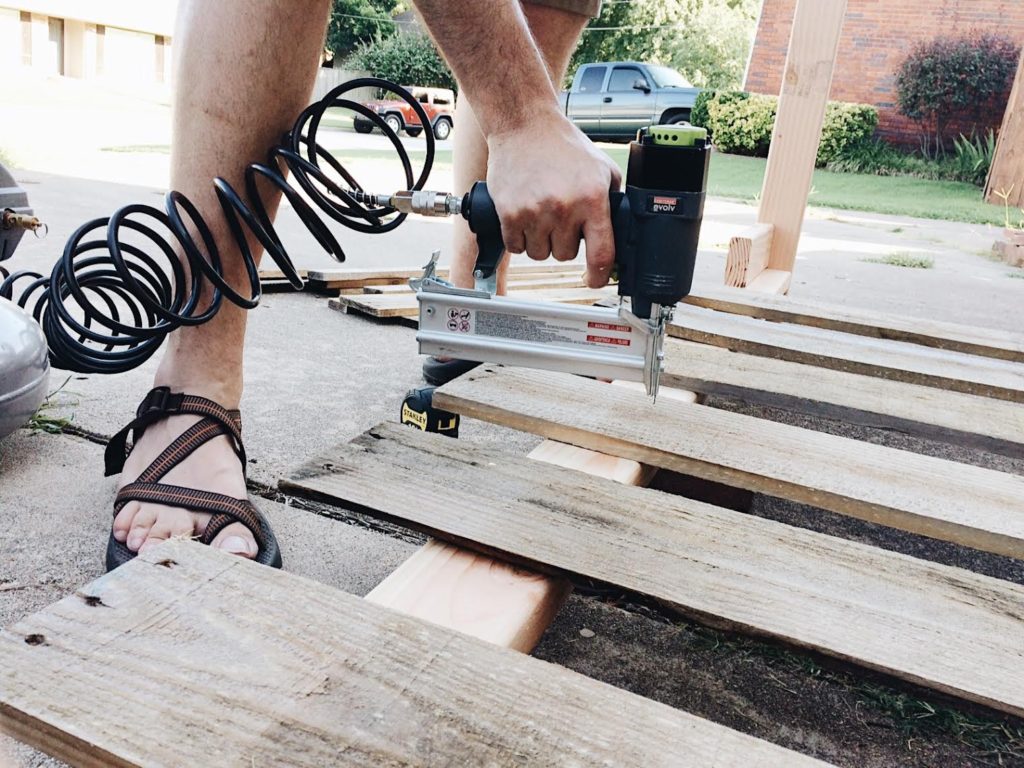
long), 18ga brad nails, ½”ø x 12” long thread x thread pipe nipple, ½”ø pipe cap, ½”ø pipe floor flange With the lumber cut, assembling the frame was pretty easy. Measure, apply glue, clamp, drill hole, drive screw, repeat. It’s a good idea to pre-drill small holes to avoid cracking the lumber. NOTE: 2” long screws were long enough but we wished we had used 2 ½” for the extra stability. With the frames built, next step was to attach the pallet planks. We laid the frame down flat and began evenly spacing the planks along the frame. Once satisfied with the result, we used a bit of glue and 18ga brad nails with a small nail gun. Final steps were to lightly sand the pallet planks with the sander until we liked the look and to assemble/attach the pipe to the desired locations.
We have been very happy with the result. The stands are lighter than expected but still requires 2 people to move due to size. They look great and made Carlie’s booth at the craft show more impressive. Let us know if you like craft projects like these. We plan to blog/vlog more of our craft and remodel projects along our journey.
-Brady

Pinterest Links where Carlie got inspiration: (none of these are exact because we figured out a way to make it what Carlie needed it to be & Carlie also looked at similar images to these – in the related pins feature)
Image – found on Pinterest (uploaded by user)
nocoplacentaencapsulation – found on Pinterest
Fixtures Close Up – found on Pinterest
Plastolux – found on Pinterest
*Post originally posted on my other site, carliejdesign.com, but I am now separating my business site from the blog site, therefore I am moving the posts here. Jul 24, 2017*